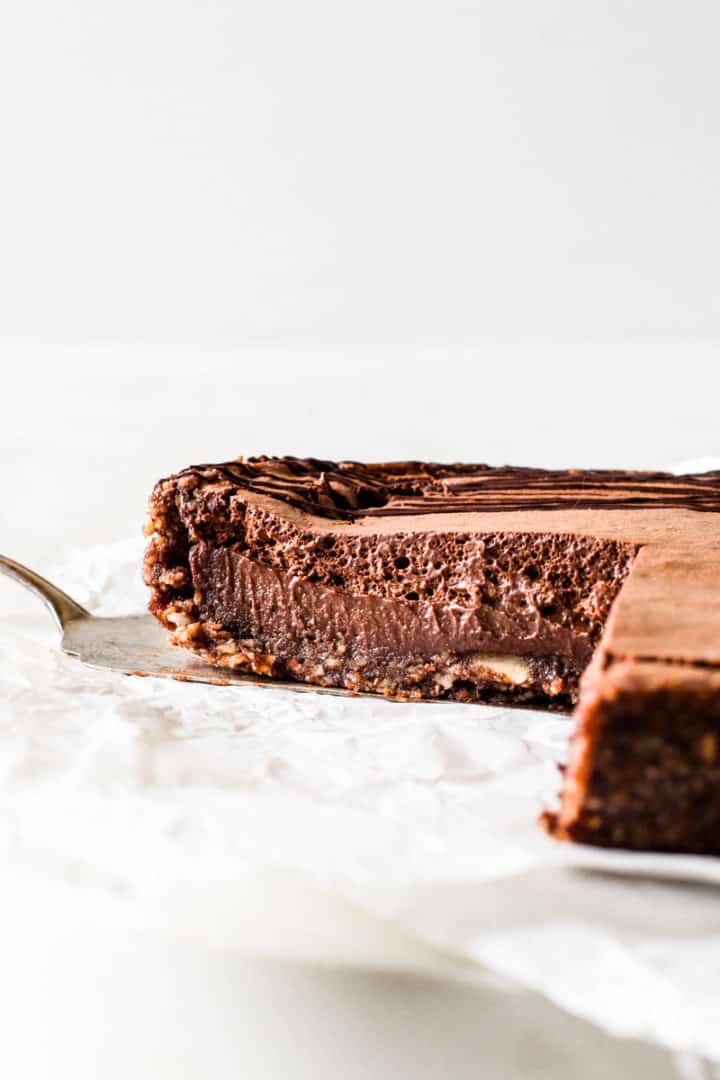
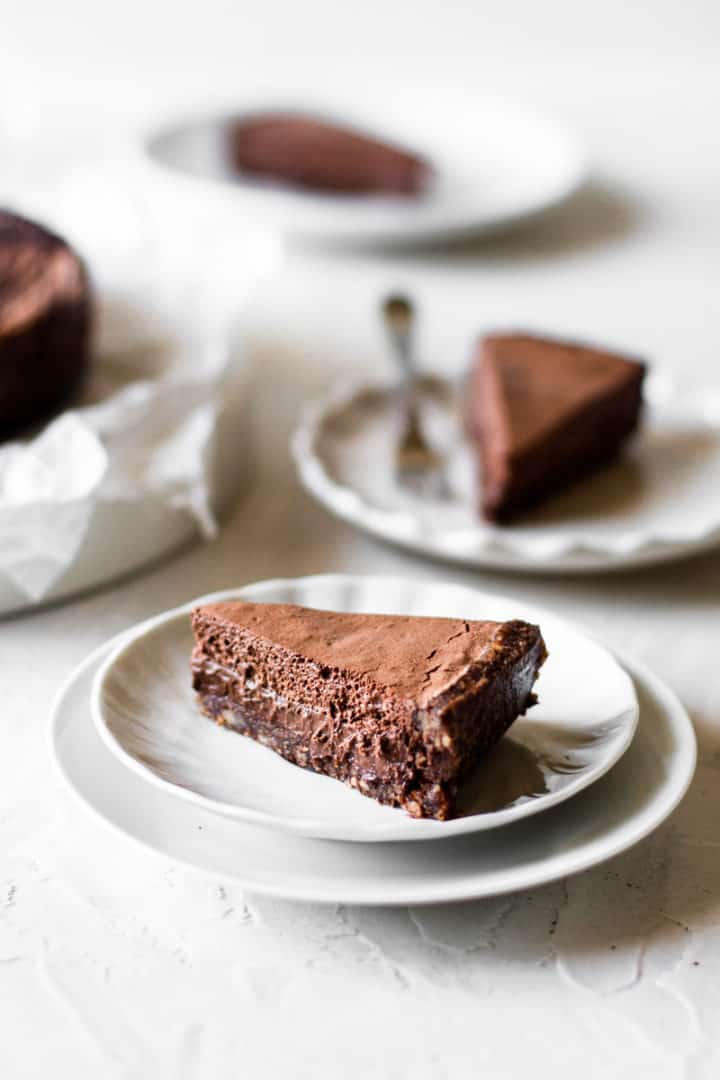
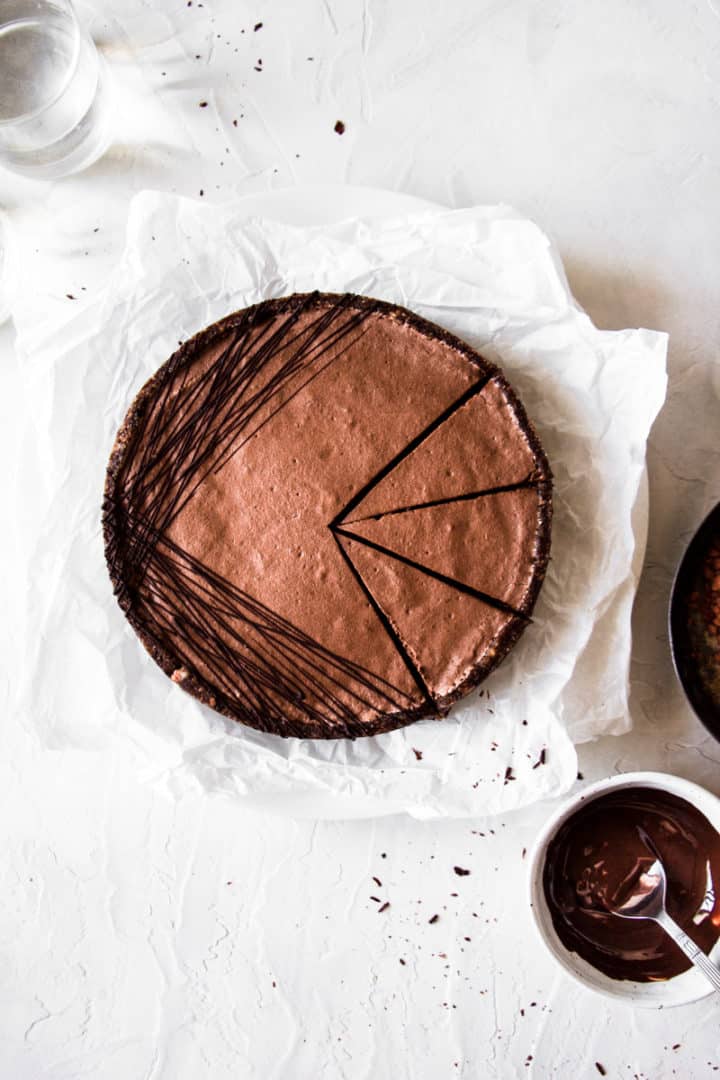
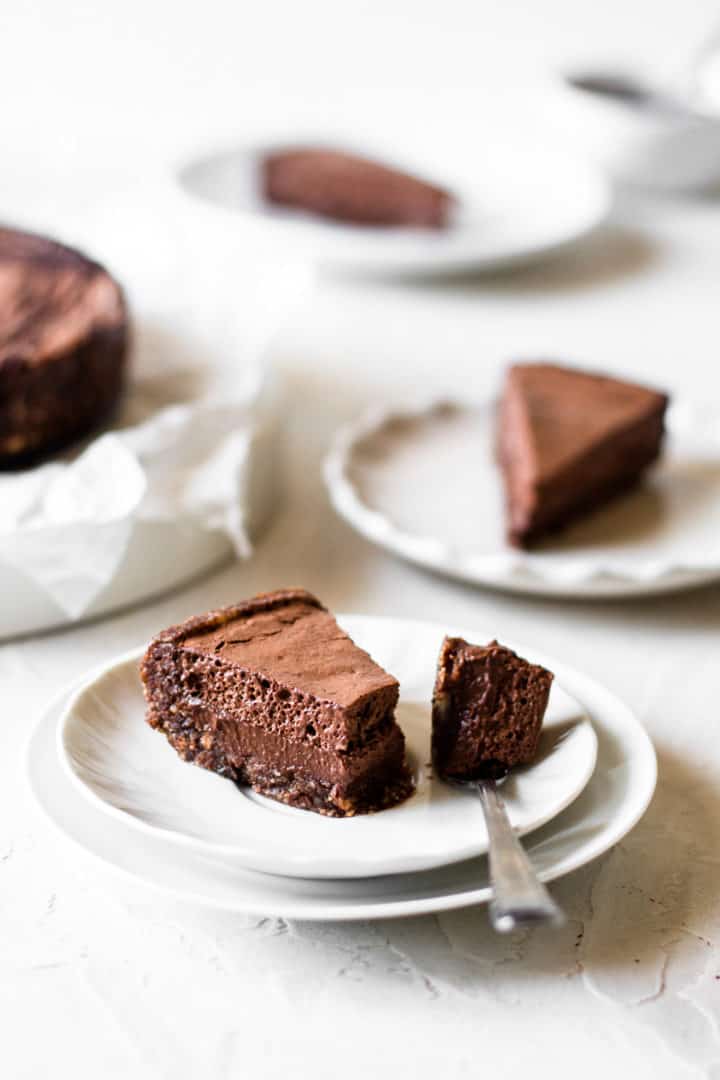
There are no words to describe how decadent this no-bake chocolate mousse pie is. It's delicate, light, airy, creamy and rich, all at the same time. The pie is made of a no-bake chocolate crust (that is also gluten-free), a vegan chocolate ganache and this aquafaba chocolate mousse.
Jump to:
Why this tart is different
- It's a vegan triple chocolate dessert. It has 3 different layers, all containing chocolate but with a different texture. Note that they are all made without coconut milk, which is relatively rare in vegan no-bake desserts.
- This is a NO-BAKE pie. The recipe is practically made in a blender. While it might look complex, it is actually pretty easy to prepare. All you have to do is make the 3 layers and let the tart chill in the fridge for several hours before serving.
- The pie crust is gluten free. The crust is completely gluten and grain free as it's made from dates and nuts.
Ingredient substitutions
- Raisins: you can substitute them for the same amount of dates (refer to the weight in grams).
- Almonds: you can use any other type of nuts for the crust.
- Dark chocolate: use chocolate with a lower amount of cocoa (50-60%) if you don't like the taste and bitterness of dark chocolate. You could also use half dark chocolate and half milk chocolate if you're not vegan. This is valid for both the chocolate ganache and the chocolate mousse.
- Soy cream: you could also use a cream alternative made from rice (also known as "rice cuisine") or gluten free oats (often called "oat cuisine") to make it soy free.
Step-by-step with pictures
How to make the no-bake chocolate crust
To make the no-bake chocolate crust you only need 4 ingredients: almonds, dates, raisins and cocoa powder.
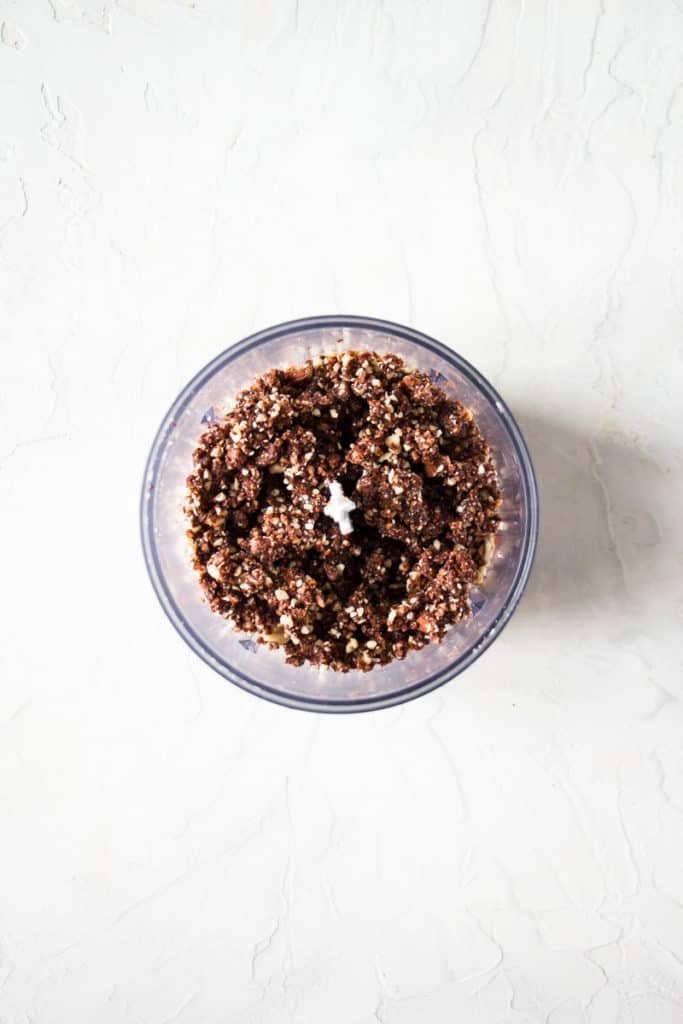
Blend. First, you'll want to blend the almond until it forms a powder. Add the dates, raisins and cocoa powder. Pulse until a dough forms. You should be able to form a ball.
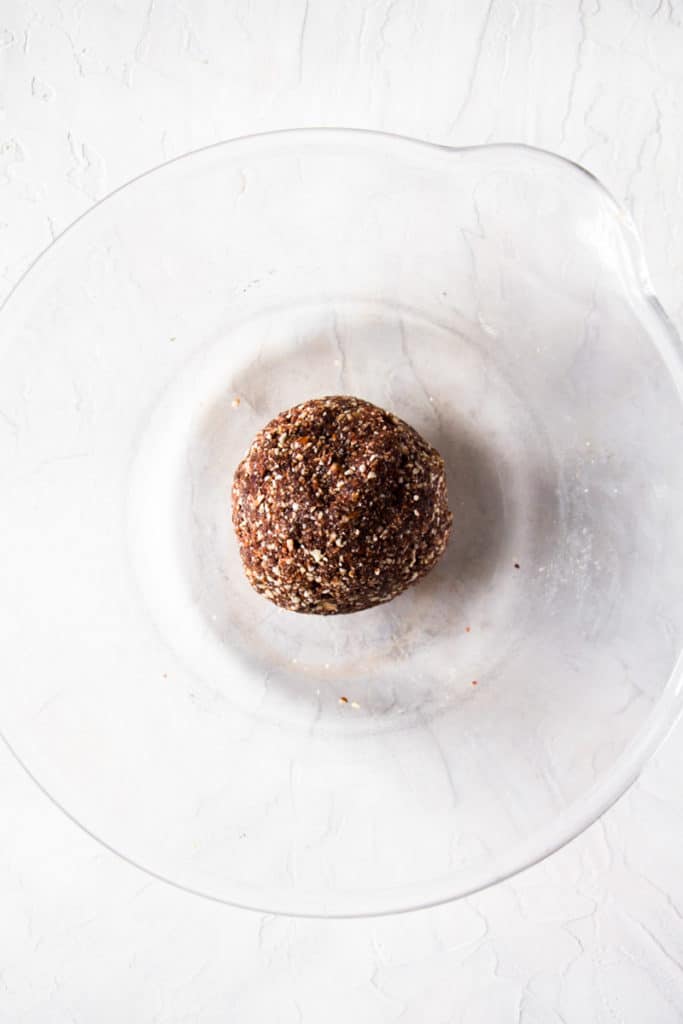
Make the crust. With your hands, press about ⅔ of the dough into the springform or cake tin. Form 4 rolls with the remaining dough and place them along the edges. Now press them against the sides of the tin.
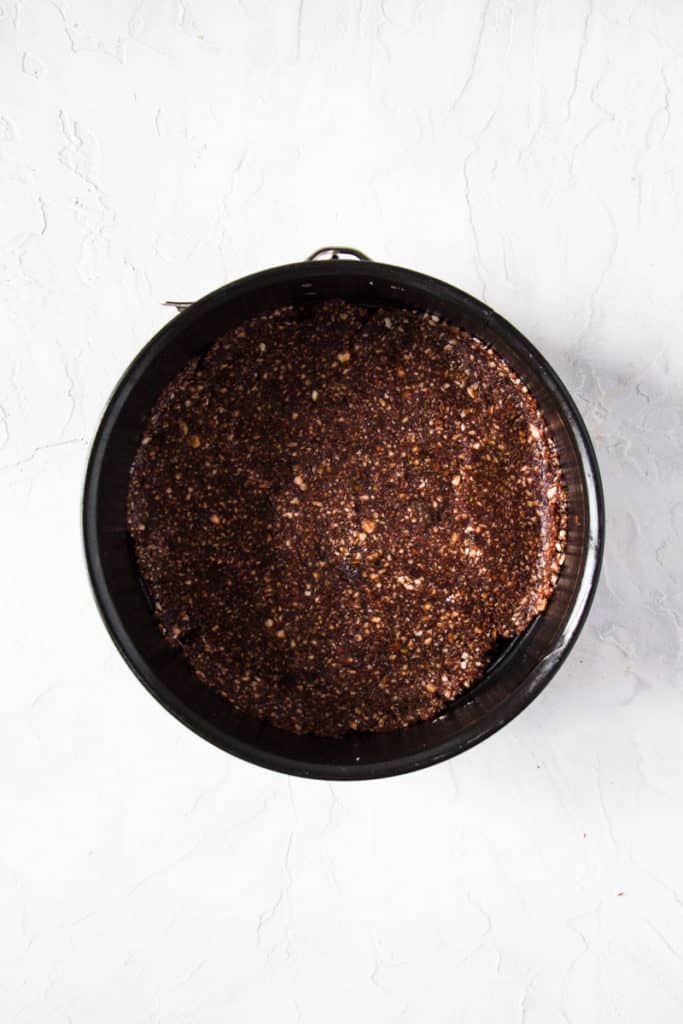
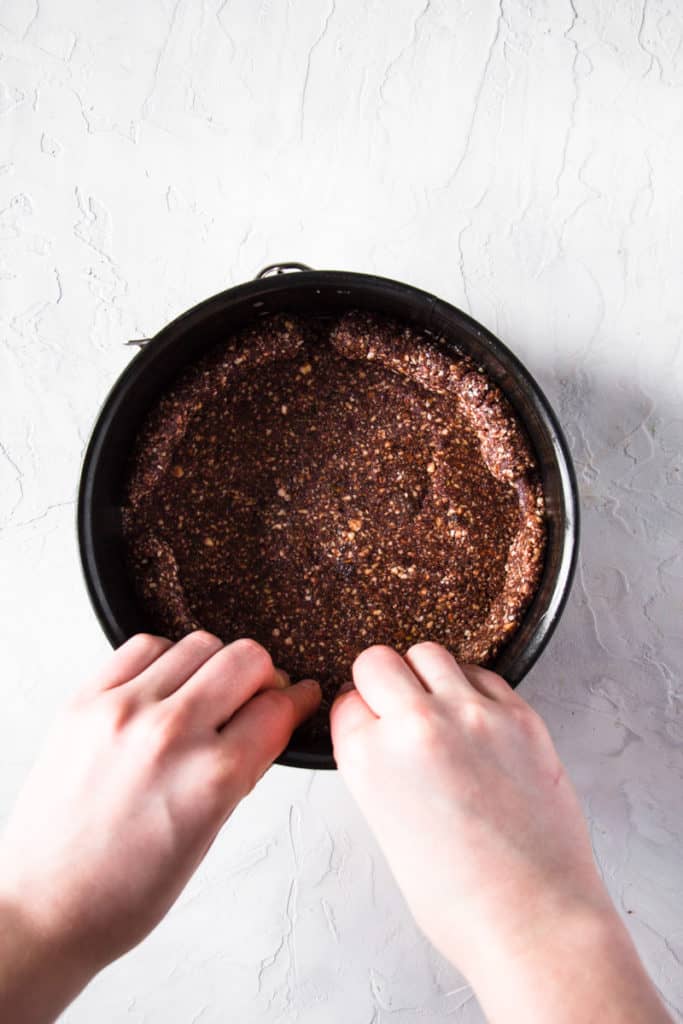
Flatten the surface and the edges. Use a measuring cup or a glass to flatten the surface and form a smooth and round crust. With your fingers, tap onto the edges to make them thick and sturdy.
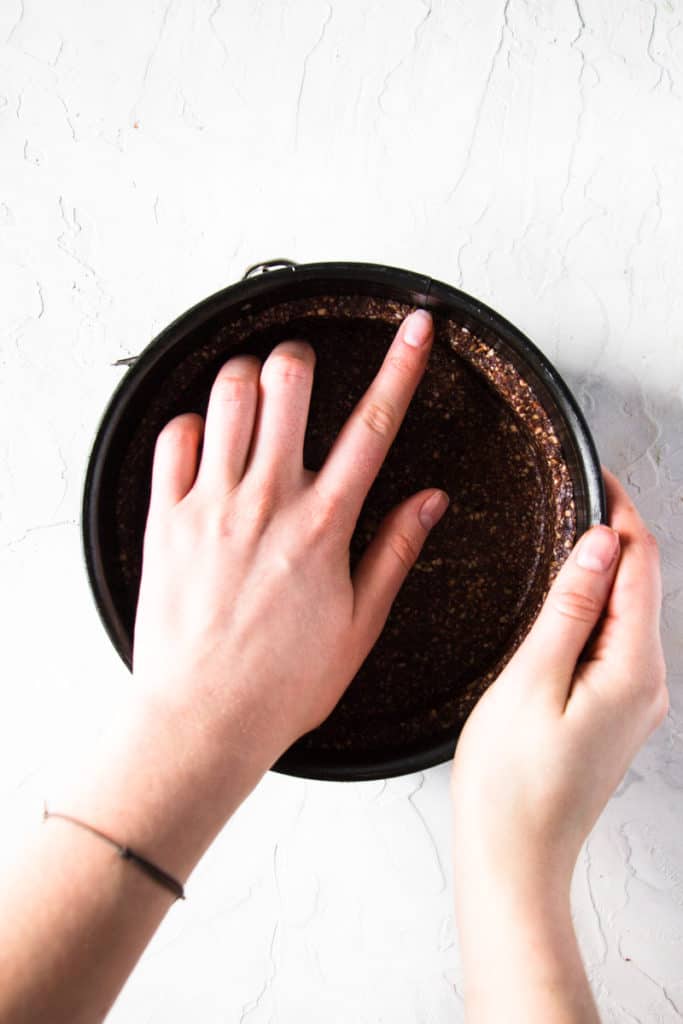
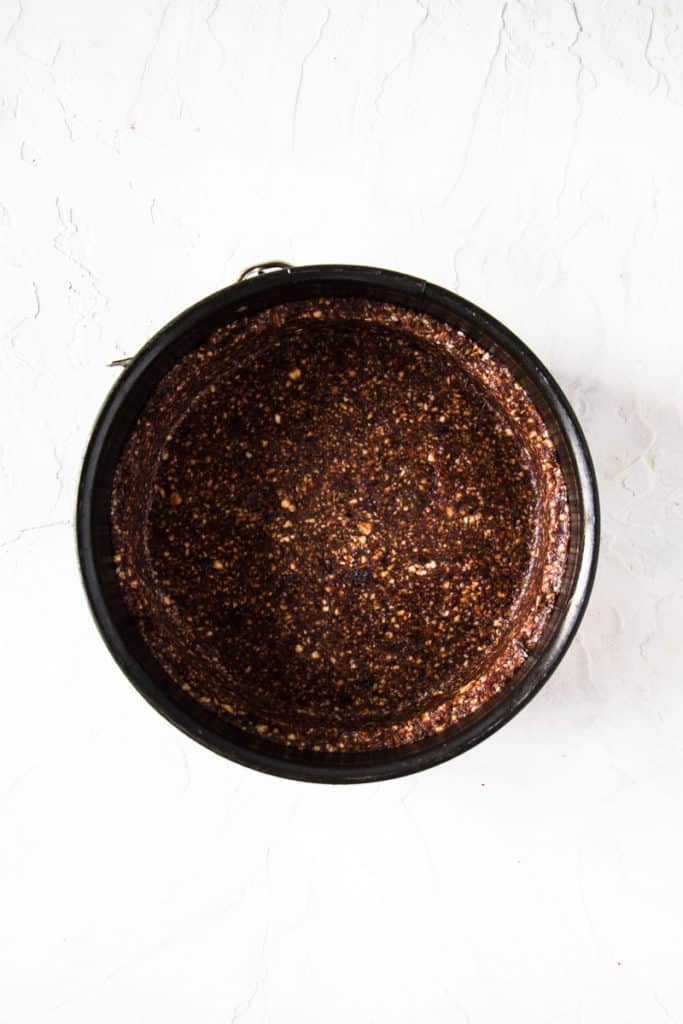
How to make the vegan chocolate ganache
The chocolate ganache requires 4 ingredients: soaked cashews, soy cream ("soy cuisine"), maple syrup and melted dark chocolate.
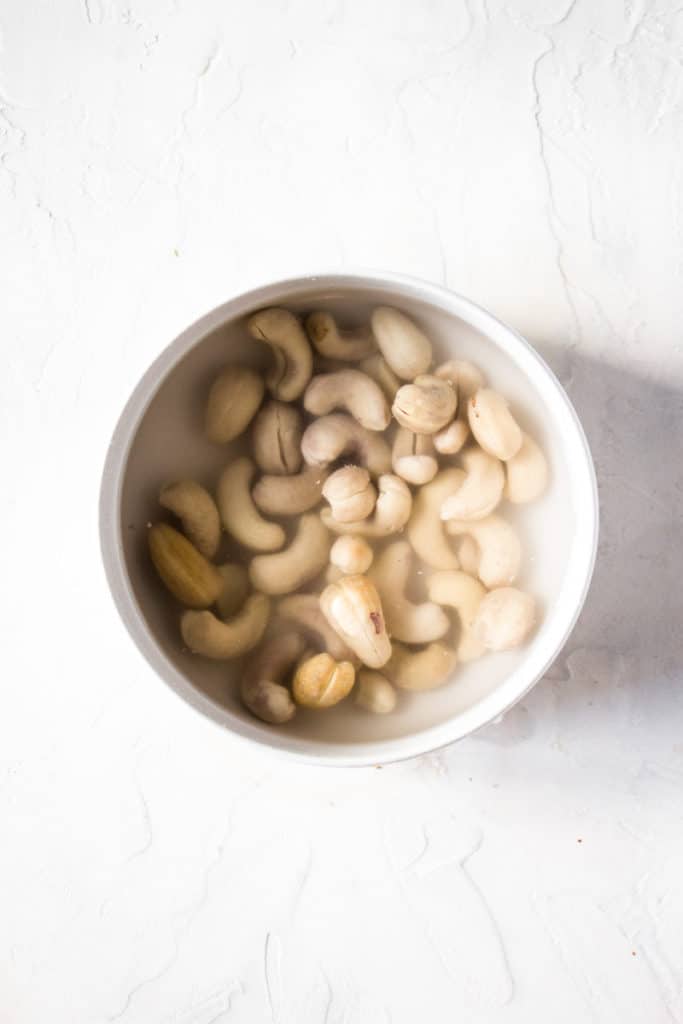
Soak the cashews and blend. Start by soaking the cashews in boiling water for 30 minutes. If you don't have a high-speed blender, soak them for approximately 2 hours. Drain the cashews and blend them with soy cream and maple syrup.
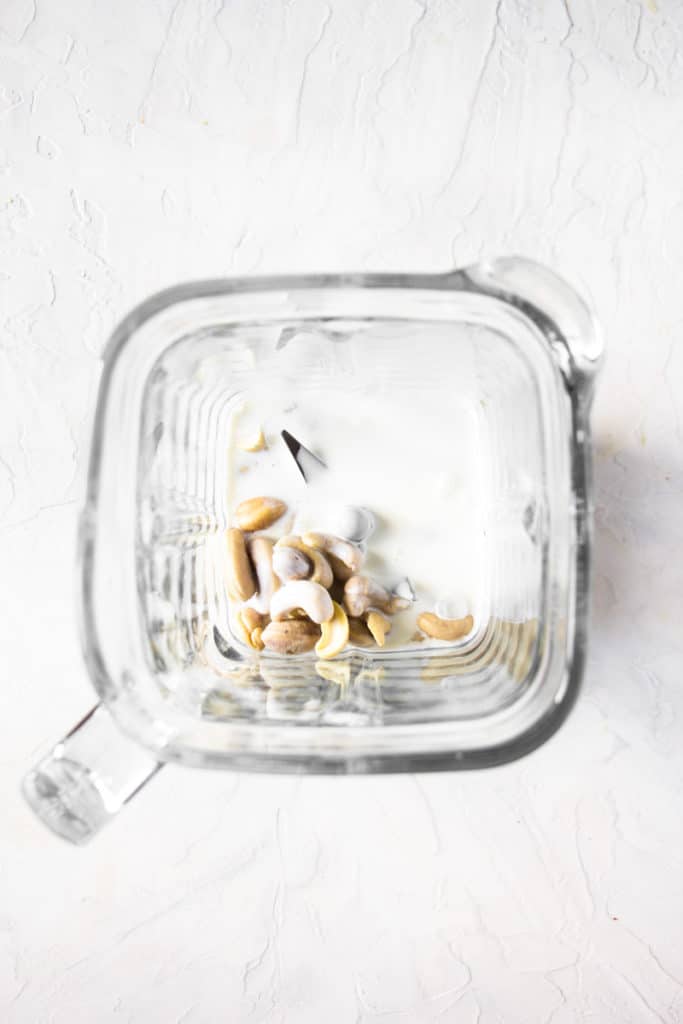
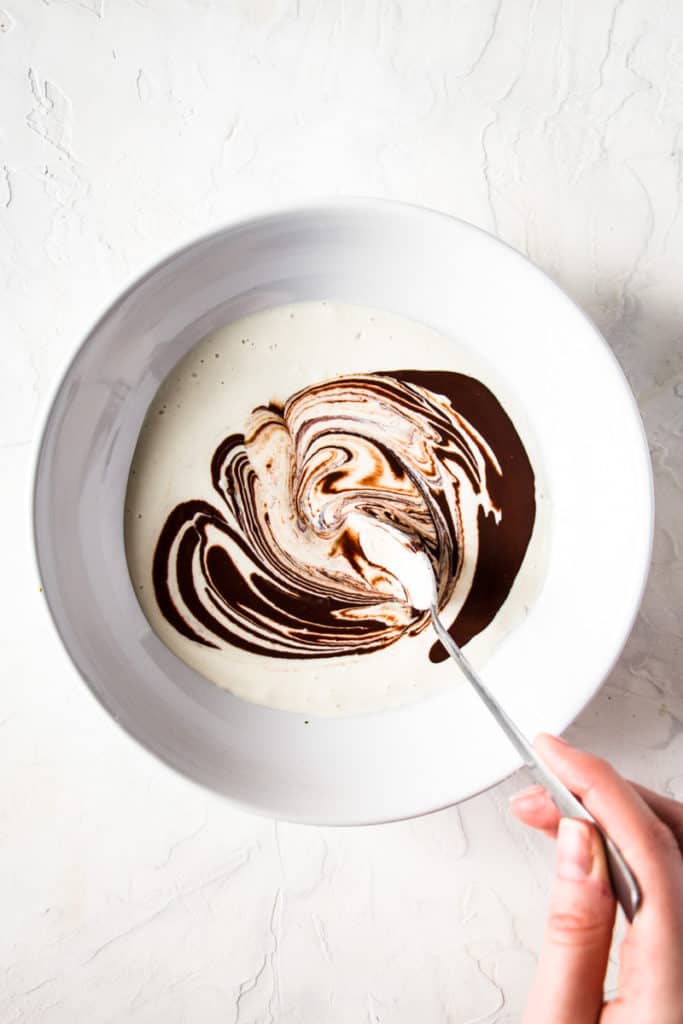
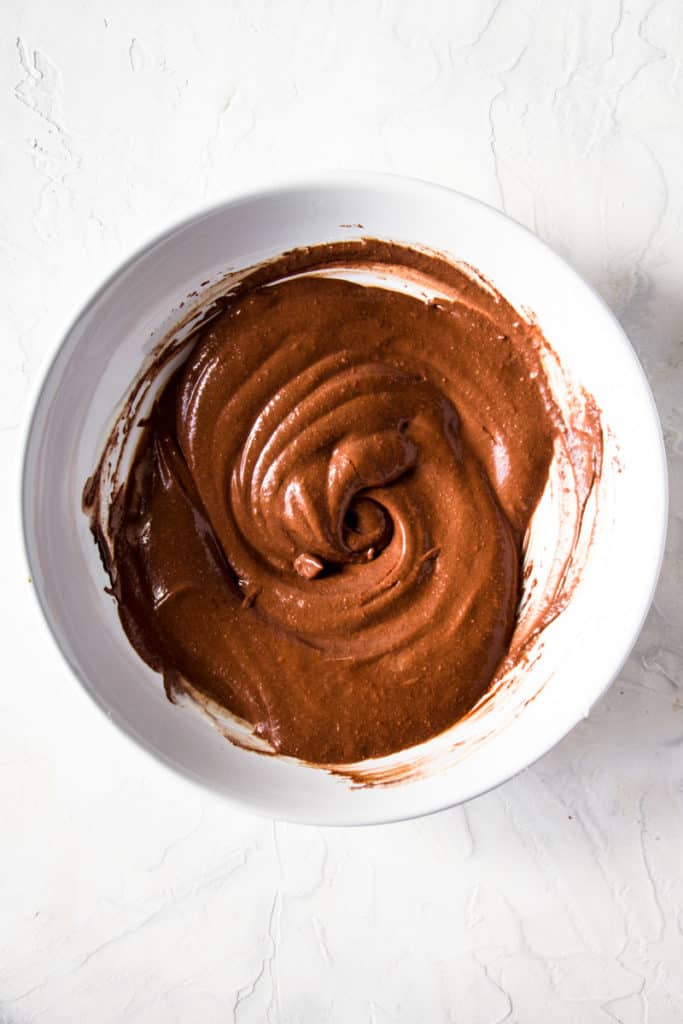
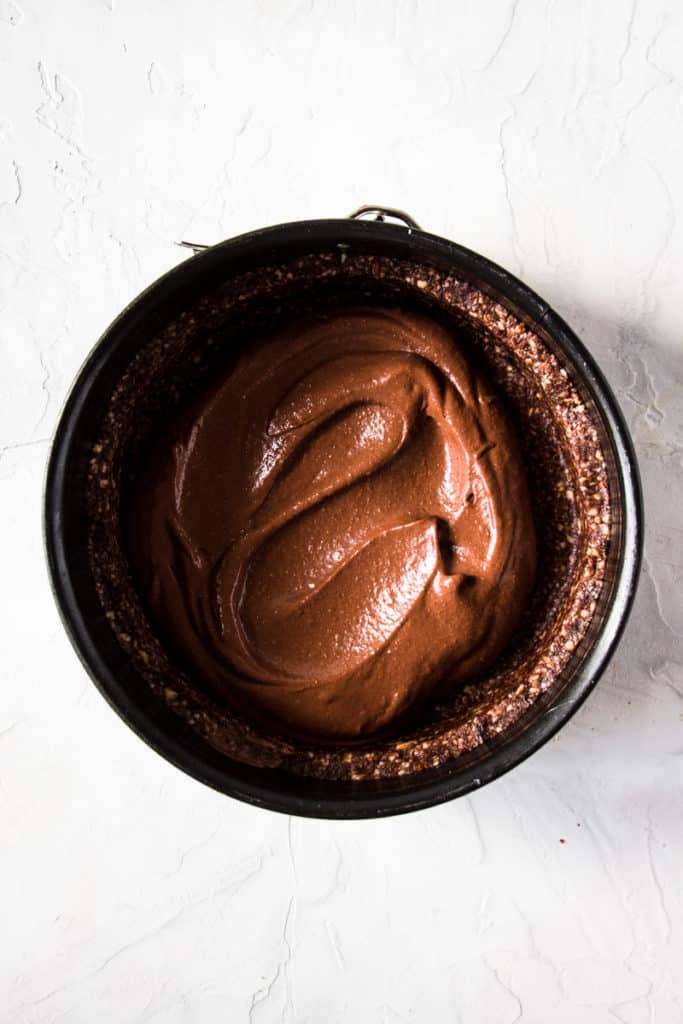
Combine with the melted chocolate. Melt the chocolate over low heat or in the microwave. Add the cashew-cream mixture to the melted chocolate. You should obtain a thick ganache. You now want to work quickly before it sets (as the chocolate cools down, the ganache gets thicker).
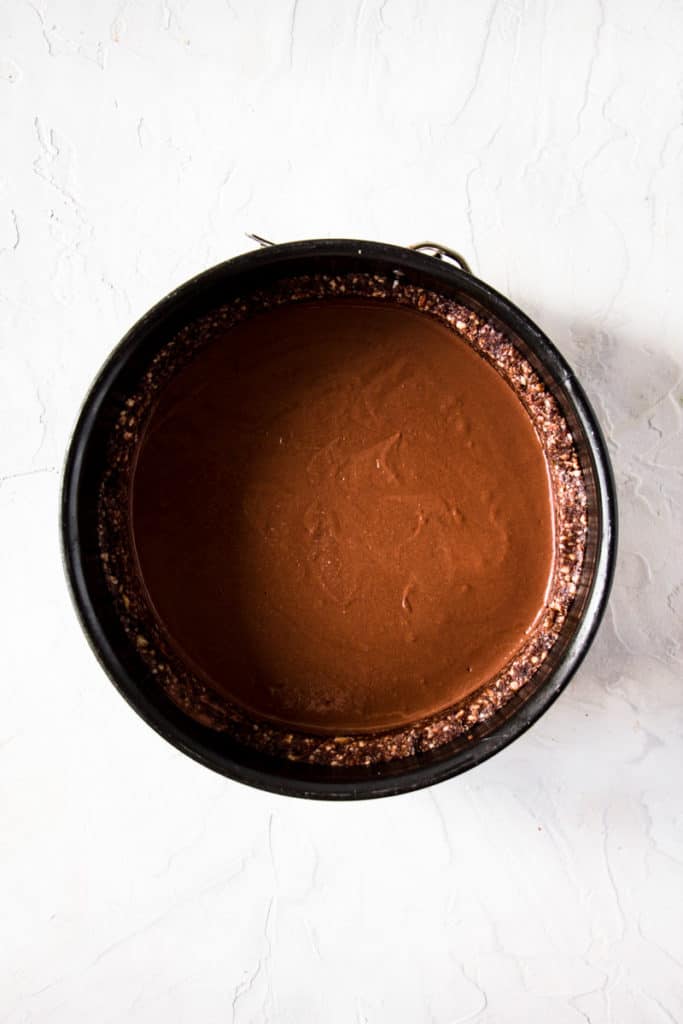
Pour the ganache over the crust. Tap the springform several times against a flat surface to smooth out the ganache. Place it in the fridge while you make the chocolate mousse.
How to make the aquafaba chocolate mousse
The chocolate mousse is made of 2 simple ingredients: aquafaba and dark chocolate. Aquafaba is simply the juice/brine of canned chickpeas that you can collect by draining them. You can find out more details on aquafaba and why it can foam here.
Melt the dark chocolate. Once again, heat the chocolate in a large bowl over low heat or in the microwave until melted and let it cool.
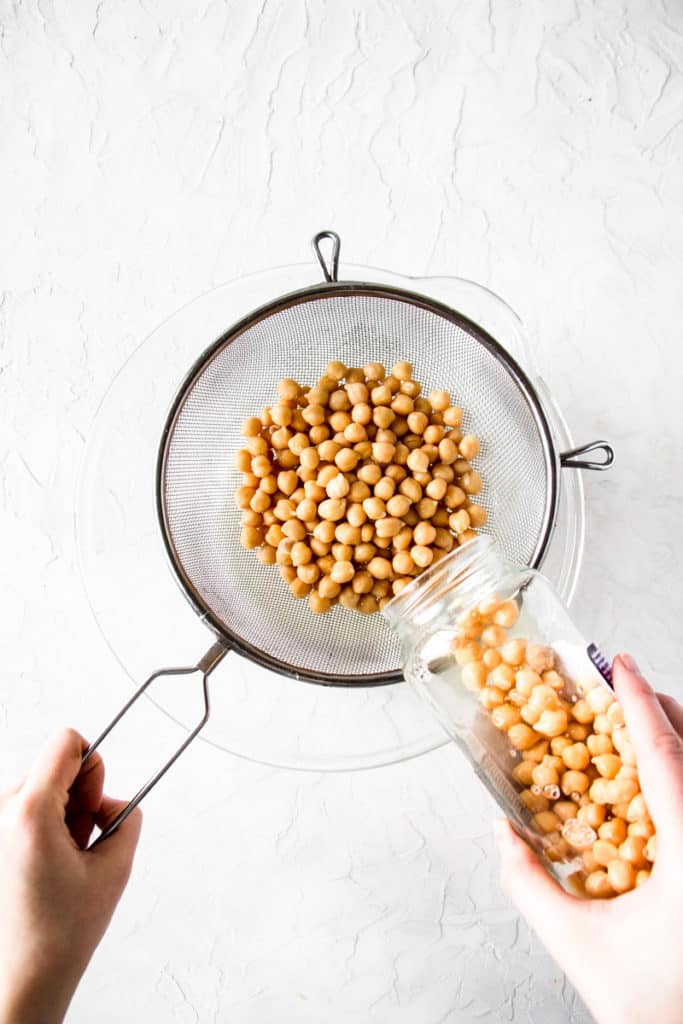
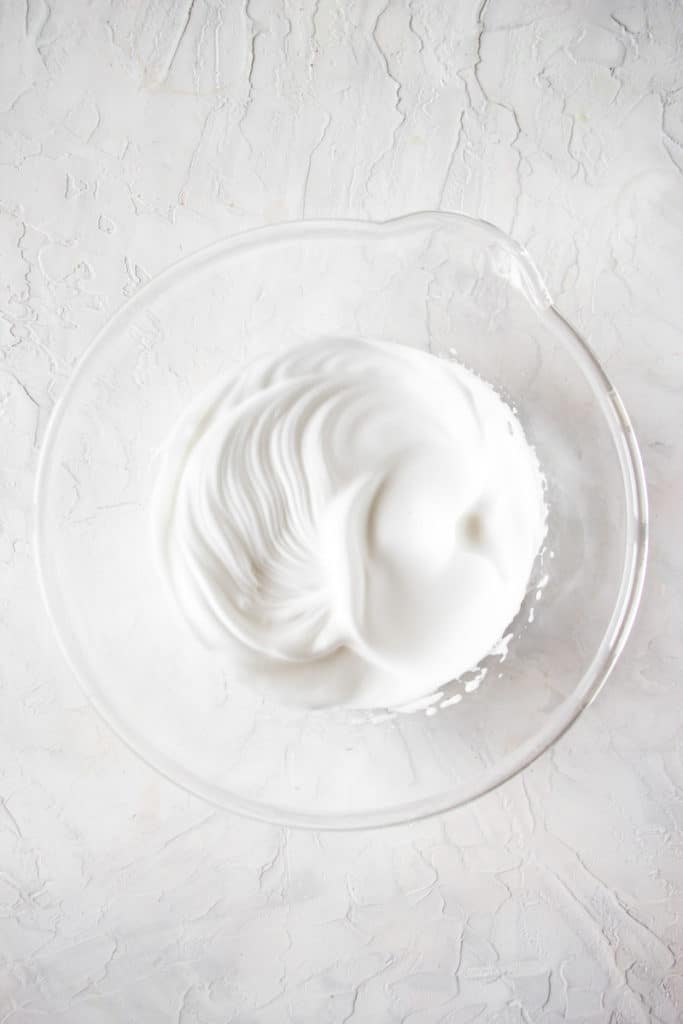
Retrieve the aquafaba and make foam. Drain the chickpeas over a bowl. Weigh the amount of aquafaba you need and add it to a large mixing bowl. Beat the juice with an electric mixer for 7 minutes until stiff peaks form (see picture).
Incorporate the aquafaba foam. With a spoon or spatula, gently add the aquafaba to the melted chocolate, just like you would incorporate egg whites into a cake batter.
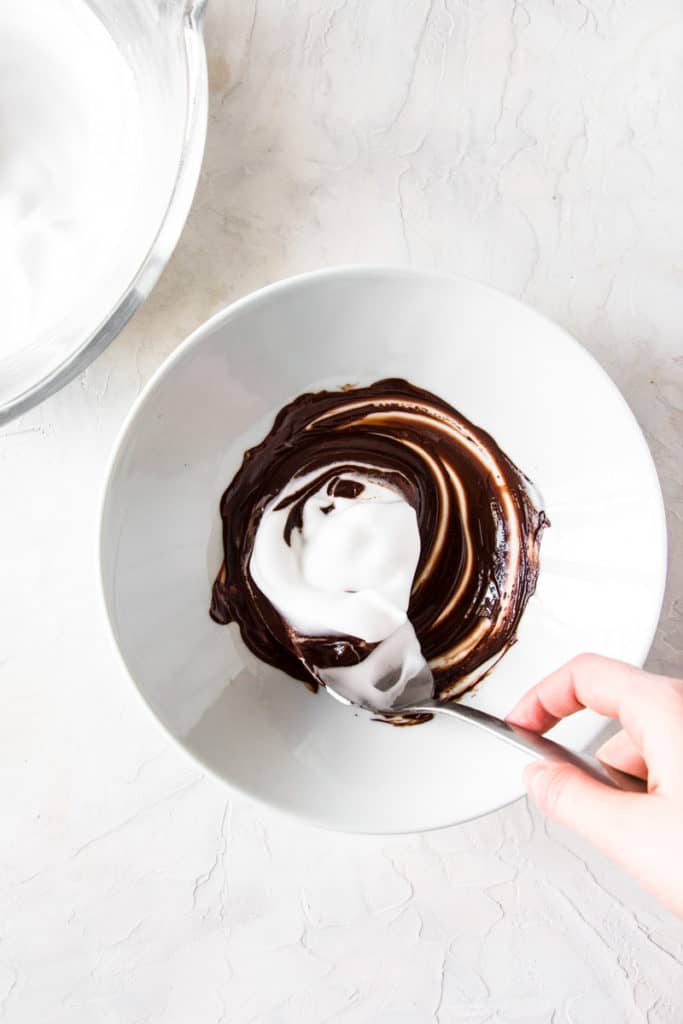
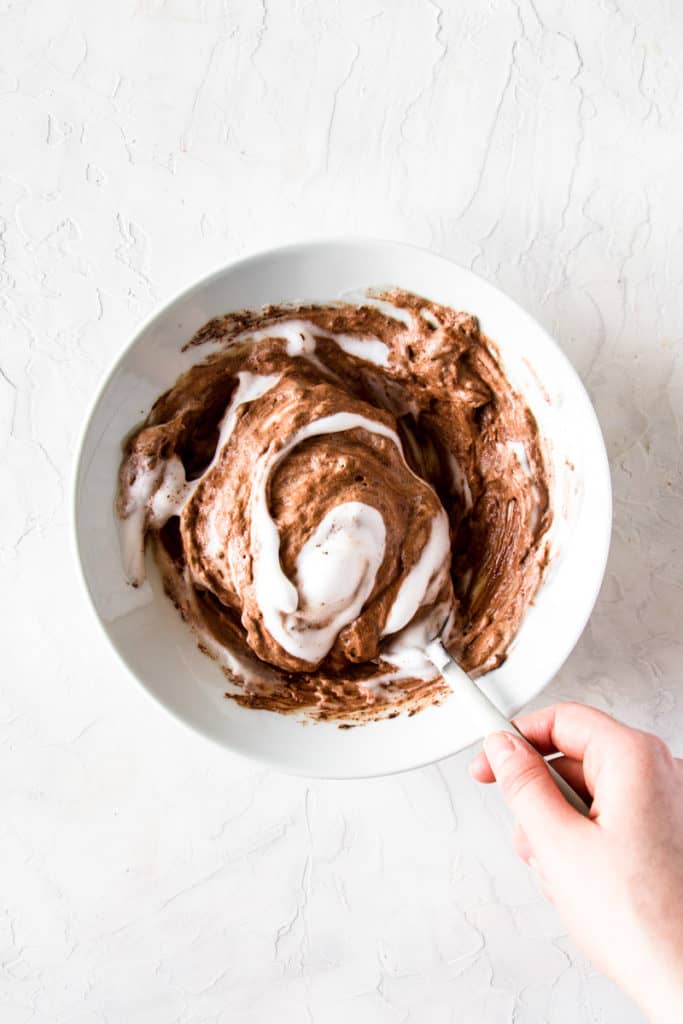
Make the chocolate mousse layer. With a spoon, carefully spread out the mousse over the ganache. Tap the springform against a flat surface several times to smooth out the chocolate mousse.
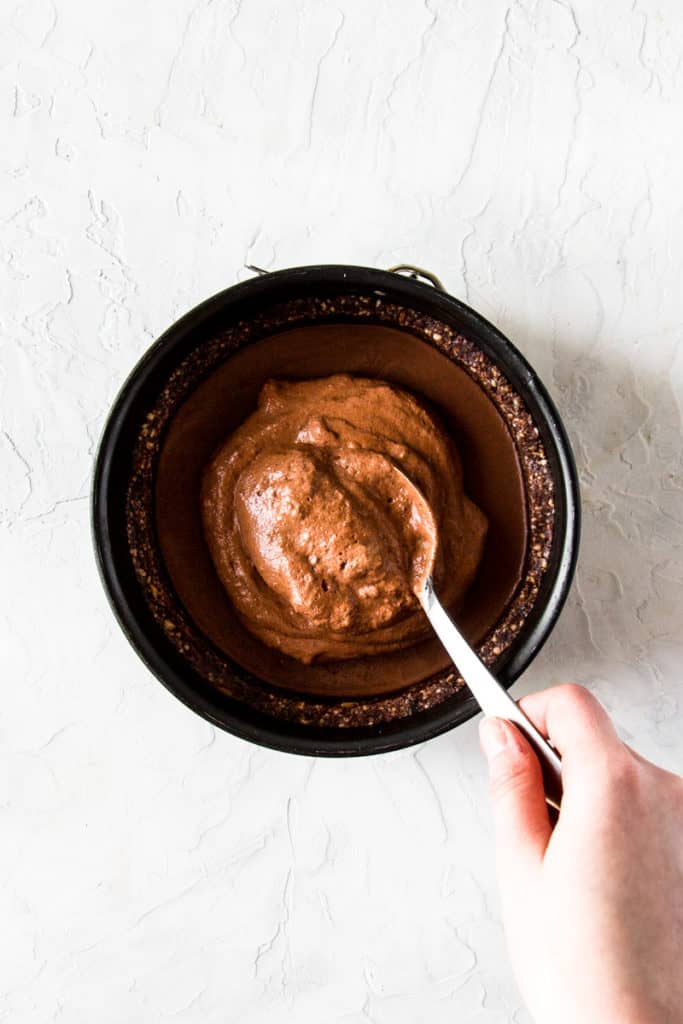
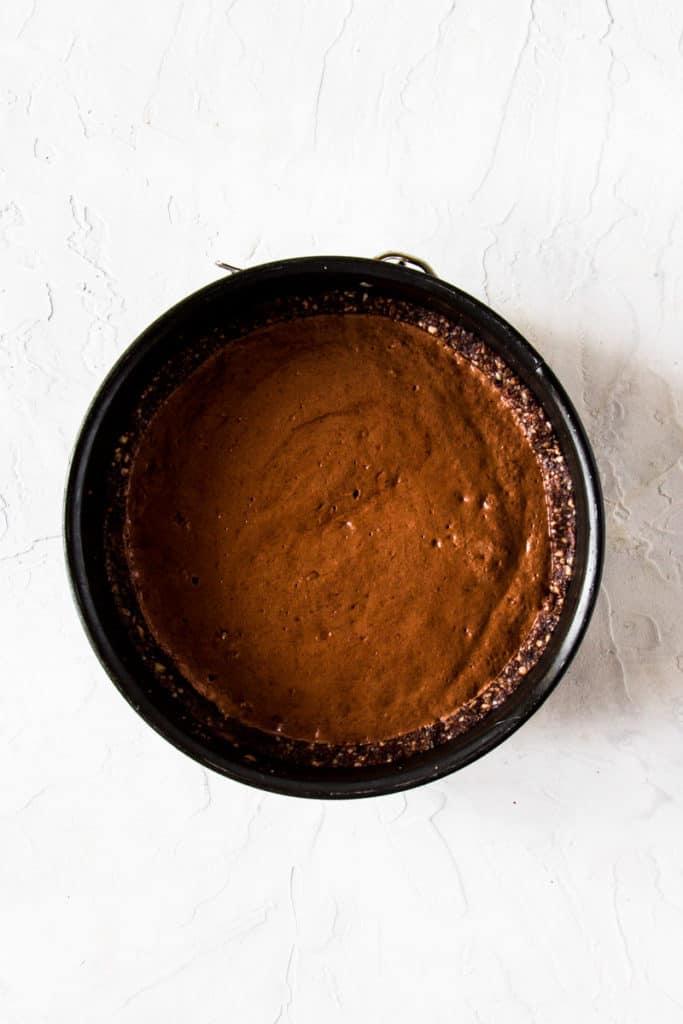
Finally, let the no-bake chocolate mousse pie sit in the fridge overnight or for at least 4 hours for it to firm up. Read our tips on how to remove a no-bake pie from a springform and how to slice a no-bake pie in the FAQ section of this post.
Wondering what to do with leftover chickpeas? Try these 3 hummus recipes or chose between the intense lemon and garlic hummus, the fresh basil hummus or this mild beetroot hummus with balsamic vinegar.
Common mistakes to avoid
When making the crust
- Blend the almonds first. By blending the almond first you're sure to have finely ground almonds and no large pieces in your crust.
- Soak the dates and raisins. If the dates and raisins look a little stiff or dry, soak them in hot water for several minutes. This will make the blending process much easier.
- Make the crust high enough. Be sure the edges of the crust are at least 1 inch (2,5 centimeters high) to have enough depth to add in the next two layers.
- Use a small springform (!). The amount of crust, ganache and mousse are sufficient enough for a small 8 inch (20 cm) springform. If you don't have a small cake tin, double the ingredients and add them to a larger one.
- DO NOT use a regular cake pan. Please only use springforms or pie pans with a removable base to make no-bake desserts. It is almost impossible to get them out of regular cake tins as you don't bake the crust.
When making the chocolate ganache
- Soak the cashews long enough. Letting the cashews sit in hot water will make them softer and allow you to have a perfectly smooth ganache. Soak the cashews in boiling water for 30 minutes if you have a high-speed blender. Soak them for longer (approx. 2 hours) if you have a less powerful blender.
- Blend until smooth. Make sure the cashew mixture is perfectly smooth before adding it to the melted chocolate. Run it through a sieve to eliminate any remaining bits if necessary.
- DO NOT add the chocolate to the blender. As soon as you add the chocolate to the cashew mixture, it sets relatively quickly. Adding the chocolate to the blender will make it difficult to retrieve all the ganache.
When making the chocolate mousse
- Slowly melt the chocolate. When melting the chocolate, remove it from the heat source as soon as half of it is melted. Start stirring to melt the remaining chocolate without burning it.
- Let the melted chocolate cool down: if you stir in the aquafaba while your chocolate is still hot, it will form a stiff ball of chocolate.
- Weigh the aquafaba: adding too much aquafaba will make the mousse too fluffy and liquidy while adding too little will make it very dense.
- Stop beating as soon as it becomes fluffy: use an electric mixer to beat the aquafaba for at least 7 minutes to get a stiff foam. I know this is quite long, especially if (like me), you’re very impatient. I recommend setting a timer.
- Let it rest long enough: for the chocolate mousse to firm up, it is necessary to let it rest long enough. I recommend leaving the no-bake chocolate mousse pie in the fridge overnight or waiting at least 4 hours before serving.
Frequently asked questions
First of all, make sure to soak the cashews long enough. Then blend them with the other ingredients in a high-speed blender. If you don't have such a blender, blend the ingredients with and stick blender in a large bowl or in food processor. Then, run the mixture through a sieve to eliminate any remaining bits.
I personally had more success with the aquafaba of chickpeas sold in jars, rather than canned chickpeas (since I find the liquid to be more viscous). I use the brand Caçarola, which I find at Cactus Luxembourg. A reader was successful with the canned chickpeas from the Albert Heijn private brand in the Netherlands.
Make sure the no-bake chocolate mousse pie was chilled long enough for it to firm up. Run a knife along the edges of the springform. Then release the spring on the pan. Carefully run a large knife or metal spatula under the bottom of the pie to loosen it. Finally, move it onto a serving platter. You can also leave the pie on the tin bottom to cut it.
Fill a container with very hot water. Dip a large, clean cake knife into the hot water for 30 seconds to 1 minute. Quickly wipe it off with a towel. Insert the knife at the center of the cake and slowly pull it backward. Place it back in the container with the hot water, wipe off any chocolate and repeat.
Don’t forget to join the Cooking With Elo newsletter. You’ll get gluten-free and vegan dinner ideas sent right to your inbox.
The recipe
No-Bake Chocolate Mousse Pie
Ingredients
For the no bake crust
- 200 g almonds or other nuts
- 50 g pitted dates
- 50 g raisins
- 2 teaspoon cocoa powder
For the vegan chocolate ganache
- 50 g soaked cashews* soaked in boiling water for 30 minutes
- 50 g dark chocolate (70%) or chocolate with a cocoa percentage of 50-60% for a sweeter taste
- 100 g soy cream or another vegan cream alternative
- 1 tablespoon maple syrup
For the vegan chocolate mousse
- 50 g dark chocolate (70%) or chocolate with a cocoa percentage of 50-60% for a sweeter taste
- 60 g aquafaba (liquid from canned chickpeas) you only need 1 can of chickpeas
Instructions
Make the no-bake crust
- Pit the dates. Soak the dates and the raisins in hot water for 5 minutes. Drain and set aside.
- Blend the almonds until a fine powder forms. Add the dates, raisins and cocoa powder. Pulse until a dough forms. The dough should hold its shape when you press it between your fingers (see step-by-step pictures in post above).
- Press ⅔ of the dough into an 8 inch (20 cm) springform. Form 4 rolls with the remaining dough and place them along the edges. Press them against the sides of the tin with your fingers. Make sure the edges are high enough for the next 2 layers.
- Run a measuring cup along the edges of the crust. This helps flatten the surface and form a smooth and round crust. Place in the fridge while you make the ganache.
Make the vegan chocolate ganache
- Soak the cashews in boiling water for 30 minutes. Drain them.
- Blend the cashews with the soy cream and maple syrup in a high-speed blender until smooth. Run the mixture through a fine-mesh sieve to eliminate any remaining bits if necessary.
- Melt the chocolate over low heat or in the microwave at 30-second intervals. Let it cool down a little. Add the cashew mixture to the melted chocolate. You should obtain a thick ganache. Work quickly before it sets.
- Pour the ganache over the chocolate crust. Tap the springform several times against a flat surface to smooth out the ganache. Place it in the fridge while you make the chocolate mousse.
Make the vegan chocolate mousse
- Melt the chocolate over low heat or in the microwave at 30-second intervals. Transfer it to a large bowl and let it cool while you make the aquafaba mousse.
- Drain the chickpeas over a bowl. Weigh the amount of aquafaba you need and add it to a large mixing bowl. Beat the liquid with an electric mixer for 7 minutes until stiff peak form (set a timer and don't stop before the time is up).
- Gently fold the aquafaba into the melted chocolate using a spatula or a spoon.
- With a spoon, carefully spread out the mousse on top of the ganache. Tap the springform against a flat surface several times to smooth out the chocolate mousse. Let it rest in the fridge overnight or for at least 4 hours.
- Read the notes sections for tips on cutting this no-bake pie.
Notes
- Soak the cashews in boiling water for 30 minutes if you have a high-speed blender. Soak them for 2 hours in boiling water if you have a less powerful blender.
- Always let the chocolate cool down, especially for the aquafaba chocolate mousse to prevent it from getting grainy.
- Use a springform and not a regular cake tin or you won't be able to remove the no-bake pie from the tin.
- Don’t use a springform or cake tin that is larger than 8 inches (20 cm). The amount of crust, ganache and mousse are sufficient for a small springform. If you don't have a small springform, double the ingredients and add them to a larger one.
- How to remove a no-bake pie from a springform pan? Make sure the pie was chilled long enough for it to firm up. Run a knife along the edges of the springform. Then release the spring on the pan. Carefully run a large knife or metal spatula under the bottom of the pie to loosen it. Finally, move it onto a serving platter. You can also leave the pie on the tin bottom to cut it.
- How to slice the no-bake tart? Fill a container with very hot water. Dip a clean cake knife into the hot water for 30 seconds to 1 minute. Quickly wipe it off with a towel. Insert the knife at the center of the cake and slowly pull it backward. Place it back in the container with the hot water, wipe off any chocolate and repeat.
Nutrition
Leave a star rating and review below. Thank you!
More vegan chocolate mousse recipes
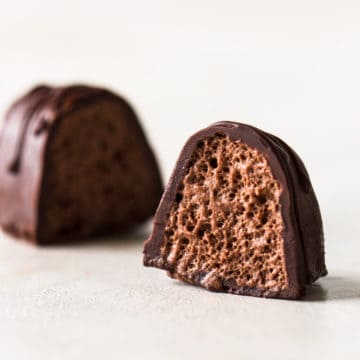
If you're looking for a more simple dessert that is also vegan, no bake and made with chocolate, try this 2-ingredient vegan chocolate mousse. Another delicious treat is these vegan chocolate mousse pralines. They are made with the same aquafaba chocolate mousse recipe as this pie .
If you tried this no-bake chocolate mousse pie recipe or any other recipe from the blog, make sure to let me know how you liked it by rating it and leaving a comment below! Your feedback really matters! Follow me on Instragram, Pinterest and Facebook to never miss a recipe.


This cake was wayyyy to yummy! At first I was a bit nervous because I never ate or made a vegan tart. But the instructions are written very clearly and I like your step by step pictures where you can see how the dough should look like to avoid mistakes.
I didn't have chickpeas at home so I took the liquid of kidney beans which did it too.
All in one I'm overwhelmed how good and easy this vegan tart was! It was not too much because of all the chocolate, it was light an not too sweet. Perfect as a dessert after a meal. Will definitely do this one again!
I'm so glad you found the step-by-step pictures helpful! And it's so good to know that it also works with the liquid of kidney beans! Thank you so much for your valuable feedback 🙂
This is my absolute favorite vegan and gluten-free dessert! I've made it for birthdays and for Christmas and it has always been a real crowd-favorite 😊 The recipe looks a little long at first but I can guarantee that it is super easy to follow. I find the step-by-step images really helpful, so thank you for that!
Thank you for your sweet comment! I'm so happy to hear this recipe was a hit on several occasions! Have a great day!