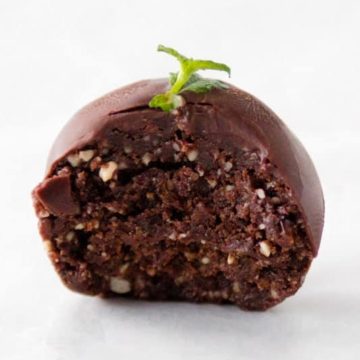
Incredibly gooey vegan chocolate truffles made with the best vegan chocolate ganache and coated with cocoa powder. Although they are made without cream, they are rich, super chocolatey and melt in your mouth. Everyone loves these little chocolate truffle balls, especially on Christmas eve and during the holidays! You might also like these healthy peppermint truffles.

Jump to:
Why you need these vegan chocolate truffles
- They make the perfect dessert or indulgent snack. I love serving them after dinner instead of a dessert or with coffee when hosting a party. These truffles are great for Christmas and Thanksgiving. Trust us, no one will guess they are vegan.
- They make such a sweet homemade gift. Make your own chocolate truffle box and gift them to your loved one for Christmas or their birthday.
- The recipe is super easy to follow and requires no fancy equipment.
- These dairy-free truffles are made without cream or condensed milk but taste just like your favorite French chocolate truffles. They are also vegan and gluten-free.
- This vegan no-bake truffle recipe is unique because it contains no coconut milk or coconut cream.
Key ingredients and substitutions
- Dark chocolate: I like to use 70% dark chocolate as it's not too sweet and not too bitter. Choose semi-sweet chocolate (50-60%) for a sweeter taste. Make sure it's vegan (free from dairy).
- Pure cashew butter: I like to use cashew butter instead of soaking and blending cashews. It's the secret ingredient that will bring these truffles to the next level. Make sure the cashew butter is made with 100% raw cashew. For a more nutty flavor, you can substitute it with almond butter.
- Non-dairy milk: a splash of plant-based milk is necessary to slightly thin the truffle mixture and get that creamy texture. You can also reheat the milk and dissolve 1 teaspoon of instant espresso powder to make espresso truffles.
- Cocoa powder: I like to roll the truffles in Dutch-processed cocoa powder. Dutch-processed cocoa was treated differently than regular cocoa powder and has lower acidity. You can however use them interchangeably.
- A pinch of salt: it balances out the sweetened of the chocolate

Flavored chocolate truffles tips
Here are 3 ways to twist this easy chocolate truffle recipe and turn it into flavored chocolate truffles. Let your creativity run wild.
- Choose flavored dark chocolate, such as orange-flavored chocolate to make the chocolate ganache.
- Add ground cinnamon, ground ginger or chili powder to the cocoa powder you want to coat the truffles with.
- Add peppermint, rose, or orange blossom extract to the chocolate ganache. Start with a few drops or ¼ teaspoon and add more to taste. Extracts are very concentrated which is why you'll only need tiny amounts.
You can roll dark chocolate truffles into various coatings to vary the flavors. Choose matcha powder or freeze-dried raspberry powder for a colorful touch. As an alternative to cocoa powder, roll them into espresso powder. To add some texture, coat them with sprinkles, biscuit crumbs, coconut shreds or crushed nuts. You can also drop them in melted chocolate.
Place the coating into a small bowl or onto a plate. Slightly press the truffles into the desired coating until completely covered. Shake off excess coating.
Step-by-step with pictures

STEP 1: Melt the dark chocolate. You can melt the dark chocolate in a water bath or in the microwave. If using the microwave, melt it at 30-second intervals to prevent it from burning. The finer you chop the chocolate, the faster it will melt. When melted, let it cool for 10 minutes.

STEP 2: Make the cashew cream. Heat the non-dairy milk in a saucepan or in the microwave. Pour the cashew butter into the milk and whisk until creamy.

STEP 3: Add the cashew cream to the melted chocolate to make the chocolate ganache without cream.

STEP 4: Stir until well combined. You can also add flavorings if you'd like (see tips above).
Chill the ganache until it solidifies. Once the vegan chocolate ganache is ready, place it in the fridge to set. It should take about 30 minutes for it to harden. If you wait longer than that, the ganache can be a little too hard. Simply take it out of the fridge and let it get to room temperature for 15 minutes.

STEP 5: Place the truffle mixture in the fridge to set. It should take about 30 minutes for it to harden.

STEP 6: After 30 minutes, the mixture should have hardened. If you left it in the fridge for too long, it might be a little too hard. Simply let it get to room temperature for 15 minutes.

STEP 7: Scoop about 1 tablespoon of the mixture with a tablespoon or a small ice cream scoop/cookie scoop. The mixture should be solid but still soft enough to scoop out the batter.
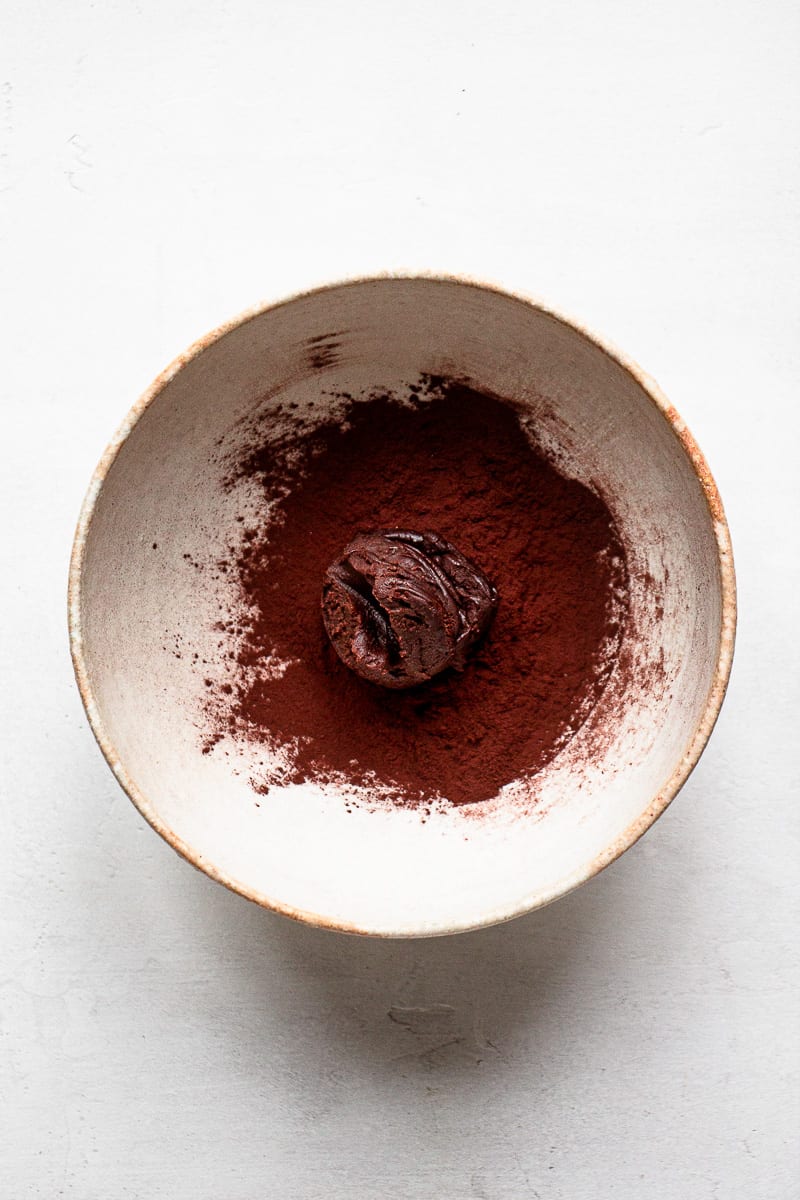
STEP 8: Drop the ball into a bowl filled with cocoa powder.
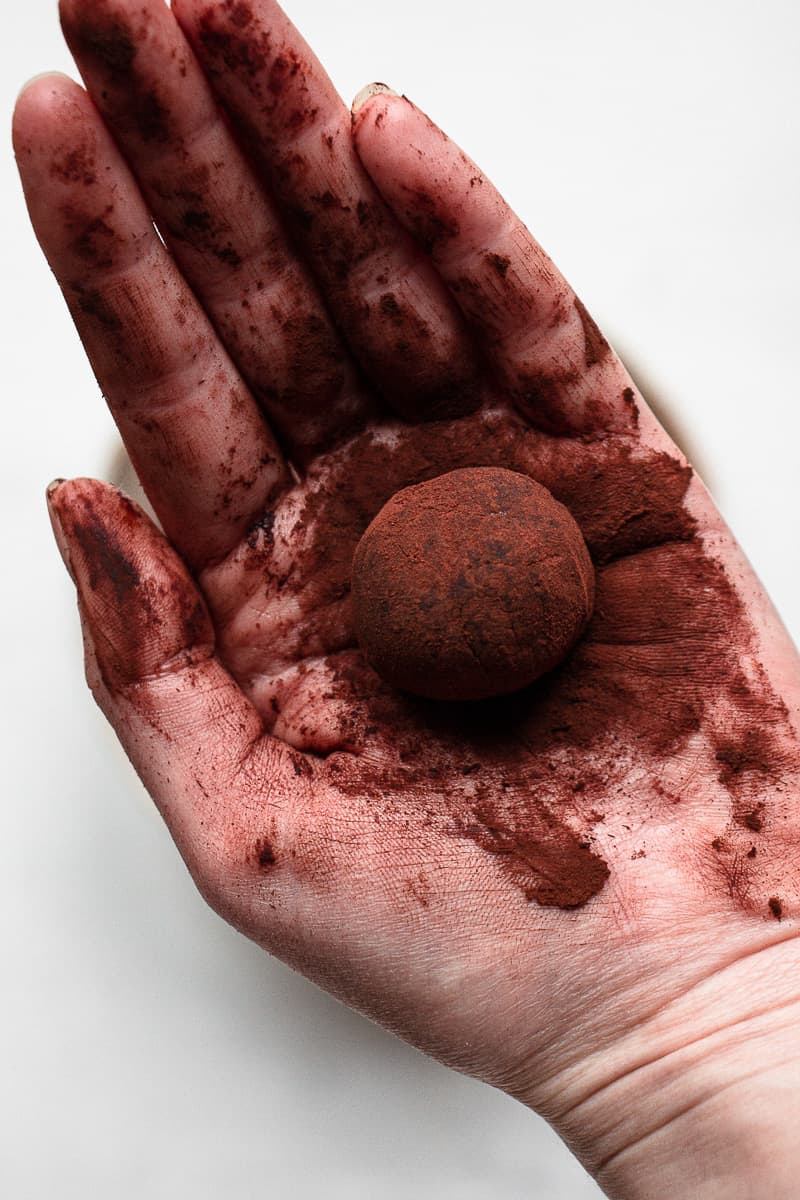
STEP 9: Shape the truffles. Press the truffle gently into the coating, then roll it into the palms of your hands (the cocoa will prevent it from sticking).
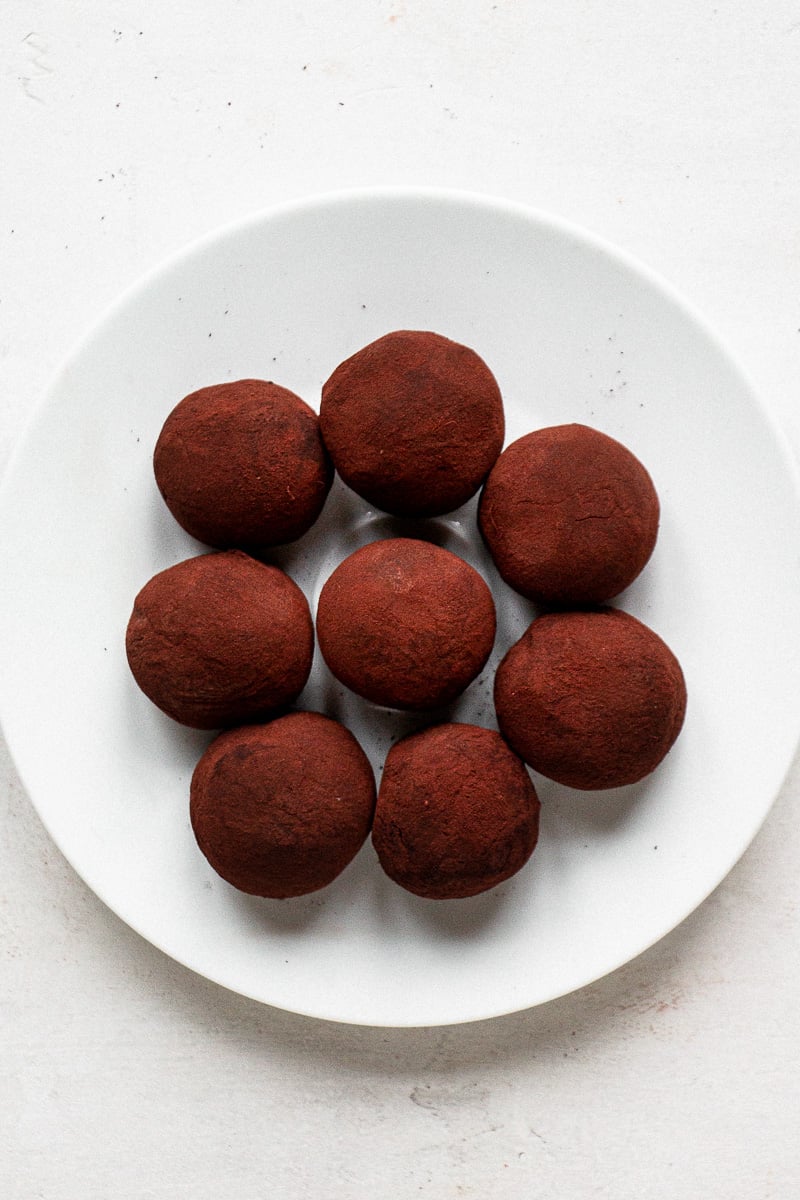
STEP 10: Place the truffles in an air-tight container until serving time (see storage tips in the FAQ section). After one night in the fridge, they'll be a lot harder.
Elo's tip: coat your hands with cocoa powder prior to rolling.
Serving tips: always take the chocolate truffles out of the refrigerator 30 minutes in advance for that perfect melt-in-your-mouth texture.
FAQ
How to store chocolate truffles?
You can store the truffles in an air-tight container at room temperature for 3 to 4 and for 2 to 3 weeks in the fridge. If you store them in the fridge, take them out of the fridge about 1 hour before serving and allow them to come to room temperature.
Homemade vegan chocolate truffles will last about 3 weeks if stored correctly in the refrigerator.
Since these vegan truffles are made without cream, condensed milk and coconut oil, they won't melt as quickly as regular chocolate truffles. You can store them in an air-tight container on the counter for 3 days.
Yes, vegan chocolate truffles can be stored in the freezer for 1 month (after that the center will firm up). Preferably keep them in a zip bag or stasher bag. Squeeze the air out before sealing.
If the chocolate ganache for your truffles is too soft when rolling them, leave it in the fridge for a little longer until it firms up. Otherwise, add some more melted dark chocolate. You might have to reheat the ganache as well to be able to stir in the melted chocolate.

Join us!
Don’t forget to join the Cooking With Elo newsletter. You’ll get plant-first recipe ideas sent weekly to your inbox.
The recipe
Vegan Chocolate Truffles Without Cream
Ingredients
- 3.5 ounces (100 g) dark chocolate(70%)
- ¼ cup (62 g) cashew butter can sub almond butter
- ¼ cup (60 ml) non-dairy milk we used soy milk
- 2-3 tablespoons Dutch-processed cocoa powder* sub regular cocoa powder
Instructions
- Melt the dark chocolate in a double boiler or in the microwave at 30-second intervals.
- Heat the non-dairy milk until lukewarm (in a saucepan or in the microwave). Add in the cashew butter and whisk until you obtain a thick cashew cream.
- Add the cashew cream to the melted chocolate and stir to combine. Place in the fridge to set for 30 minutes.
- Add the cocoa powder to a bowl.
- Scoop about 1 tablespoon of batter with a spoon or an ice cream scoop. Drop the batter into the cocoa powder. Cover the ball with cocoa powder, then roll it in the palm of your hands to form a small truffle. Coat with more cocoa powder if desired. Repeat until there's no truffle batter left.
- Transfer the truffles to an air-tight container and store them in the fridge for 2 to 3 weeks. Always take them out of the refrigerator 30 minutes in advance for that perfect melt-in-your-mouth texture
Nutrition
Leave a star rating and review below. Thank you!
More vegan chocolate truffle recipes
Loved it? Please rate it!
If you tried this recipe or any other recipe from the blog, make sure to let me know how you liked it by leaving a star rating and a comment below. Your feedback really matters! To never miss a recipe, follow me on Instragram, Pinterest and Facebook.


Absolute best chocolate truffles I've ever had! I made them today and no one even noticed they were vegan!
I'm so glad to hear that! I always love the face people make when you tell them afterward that something was vegan 😄
Thank you for this amazing recipe! I made them yesterday and they are so delicious and easy to make.
Thank you for your feedback! I'm so glad you enjoy them!